How To Install a Micro SD Card in a Kindle Fire Tablet
Are you running out of space on your new Kindle Fire tablet? If you purchased one of Amazon’s new Kindle Fire tablets, you can easily install a Micro SD Card for additional storage.
.
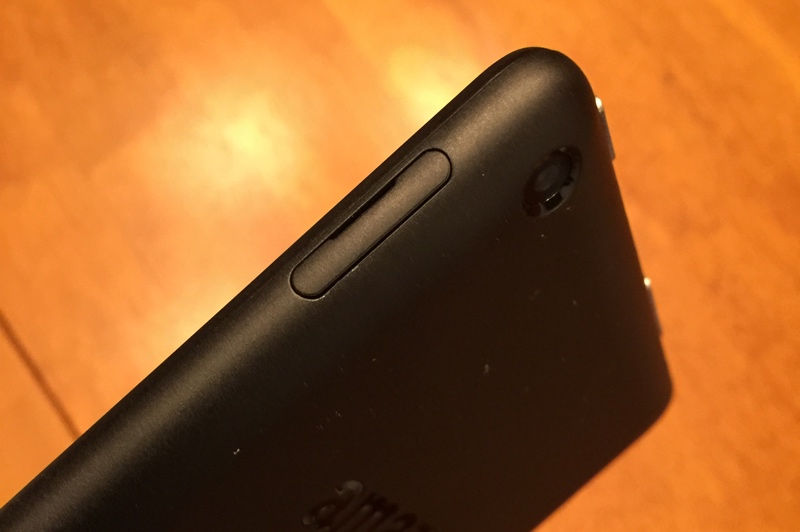
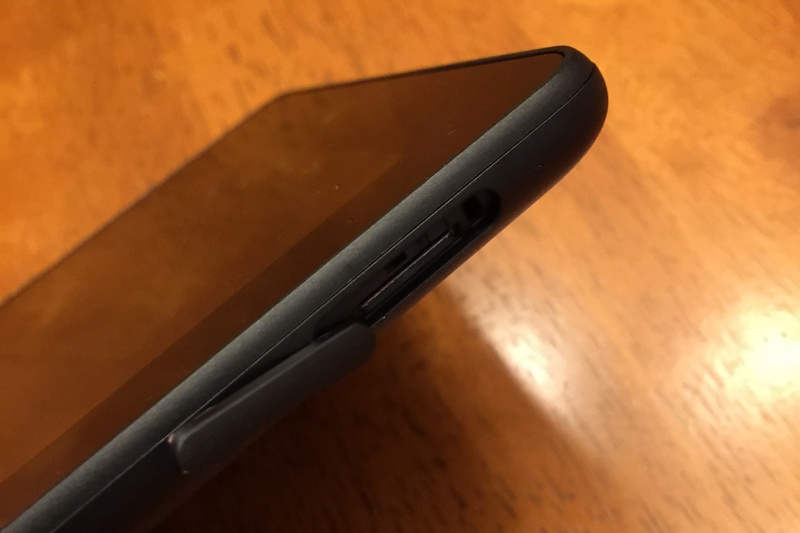
Step 1 – Locate the Micro SD Card socket cover on the top right side of the Kindle Fire tablet.
.
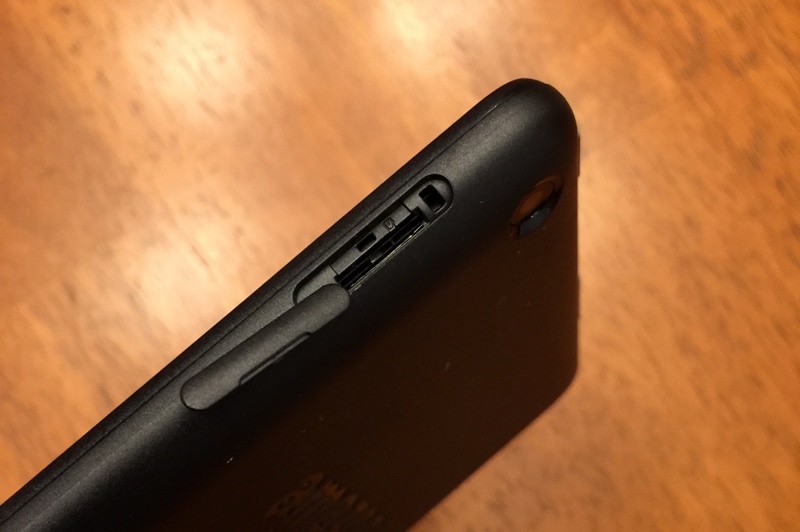
Step 2 – Using your fingernail, open the cover to the Micro SD Card socket and move the cover around to the side. Be careful not to break the cover from the tablet.
.
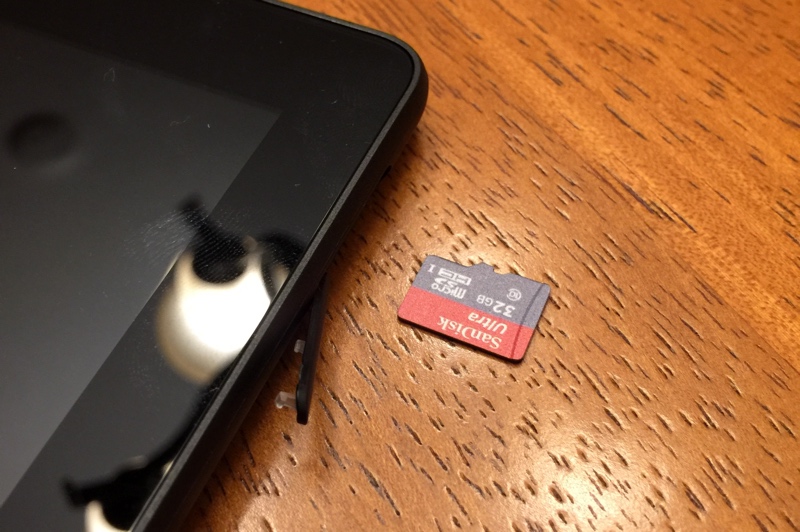
Step 3 – Before inserting the Micro SD Card into your Kindle Fire tablet, make sure the writing on the Micro SD Card is facing up.
.
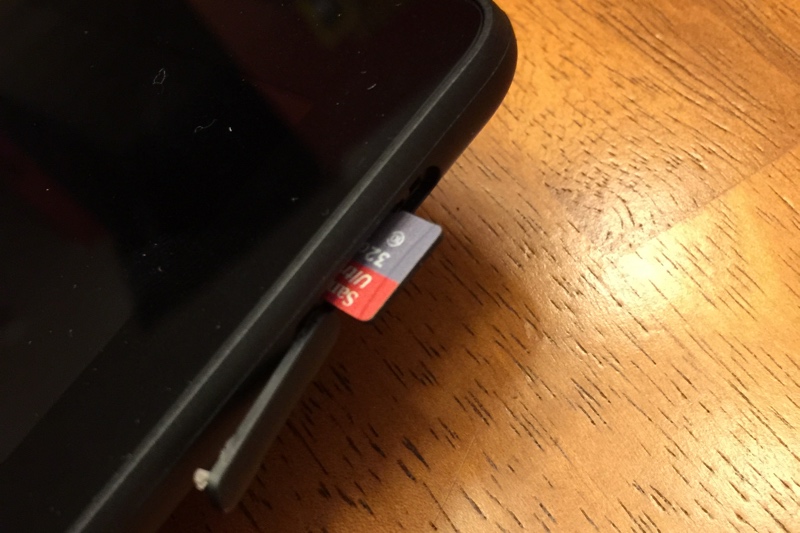
Step 4 – Carefully insert the Micro SD Card into the Kindle Fire tablet’s memory socket.
.
Step 5 – Using your fingernail, gently push on the top of the Micro SD Card until it clicks / locks into place.
.
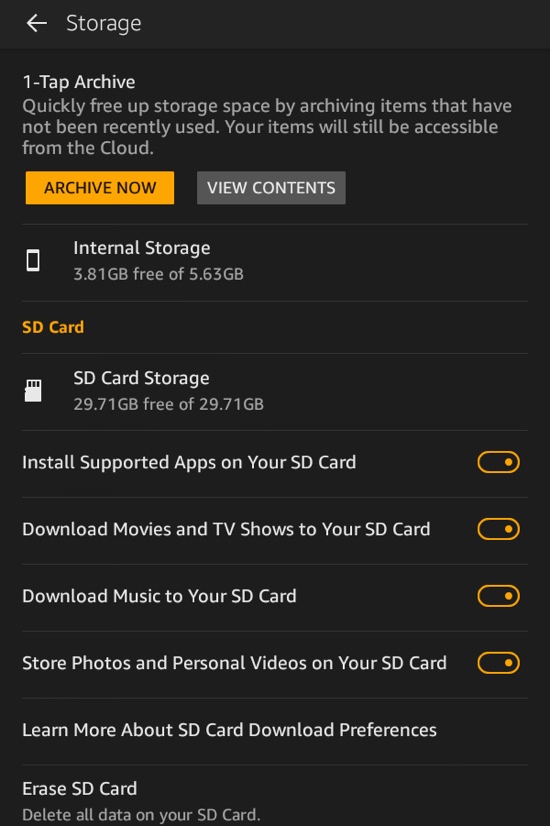
Optional: To double check your installation, click on “Settings” button on the Home Screen…then click on “Storage”. You should see your Micro SD Card under “SD Card” along with its size and the amount of space available on the Micro SD memory card. Now go enjoy the extra space on your Kindle Fire!
.
Did you know your Kindle Fire is susceptible to malware? Keep your Amazon Kindle Fire tablet safe and secure with Avast! Mobile Security for Android.
.
Tags: kindle,fire,tablet,amazon,install,micro sd card,memory,storage,
Have any questions or comments? Leave a reply!
Where you say the SD compartment is at is the volume on my Fire 8.9. I don’t see a place to put it
These instructions are for the new 7″ Kindle Fire (2015) model.
Just wanted to say,”thanks”,for giving such straightforward instructions – really helpful to a technophobe like myself! ☺
These instructions were very helpful–
Hi – Good Morning-Just Installed SanDisk Ultra Memory Card. 64-GB. IN New Kindle 7-Generation -12. Perfect Photo Instructions – Clear!! Thank you😇