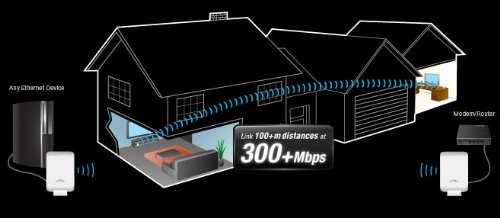
I remember reading about the Ubiquiti AirWire Wireless Ethernet system last year and thinking to myself, if only I had a need for something like this…fortunately for myself, those situations arise rather quickly. Having installed a number of surveillance camera systems in an assortment of both homes and offices in the central New Jersey area, I of course had to install one in my own home. We all fall victim to the latest technology trends, and with the increase in crime, the addition of surveillance cameras was necessary.

The surveillance camera DVR I like to use has the capability to be connected to the internet via an Ethernet cord. In all of the homes and offices where I installed these systems, I was fortunate to route an Ethernet cord via the existing network. In my own home however, I would need a magic wire that would snake itself throughout an assortment of walls and floorboards. I needed to get creative.
Before using the Ubiquiti AirWire system, I must admit I did try a pair of D-Link power line network adapters. I had used these on a number of jobs with great success, however they were used to incorporate a computer or printer to a network…nothing that required the bandwidth of a constant video feed. While the power line adapters did work, the bandwidth provided by the power line network adapters was not enough to provide consistent stable video. Video stuttering, outages, and poor video quality plagued the setup to the point where it simply was not reliable. The need for the Ubiquiti AirWire finally presented itself.
Installing the Ubiquiti AirWire Wireless Ethernet Cord
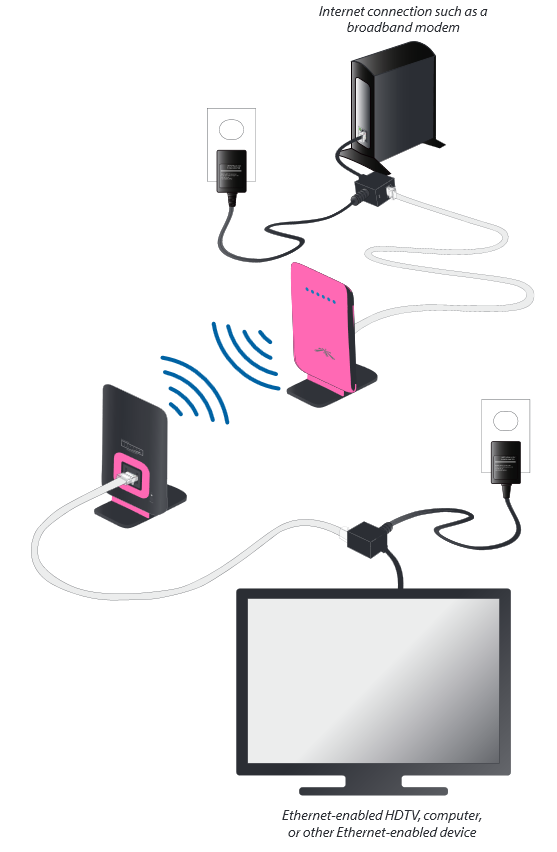
– Plug in one end of one of the provided Ethernet cords into the back of one of the devices and the other end into one of the power adapters.
– From the power adapter, plug the small length of Ethernet cord into your router and then the power supply into an electrical outlet.
– Plug in one end of one of the other provided Ethernet cords into the back of the second device and the other end into the second power adapter.
– From the second power adapter, plug the small length of Ethernet cord into the back of your Ethernet enabled device and then the power supply into an electrical outlet.
The installation sheet said I would need to sync the devices, however the need never presented itself. Within 30 seconds the two devices paired up automatically and my surveillance camera DVR was online. The beauty of the Ubiquiti AirWire devices lies in the fact that no programming is required for them to work. I have used a number of Unifi and Ubiquiti devices and while they all work exceptionally well, they must be programmed. The Ubiquiti AirWire system does not need to be programmed…they simply work right out of the box…true Plug ‘n Play.

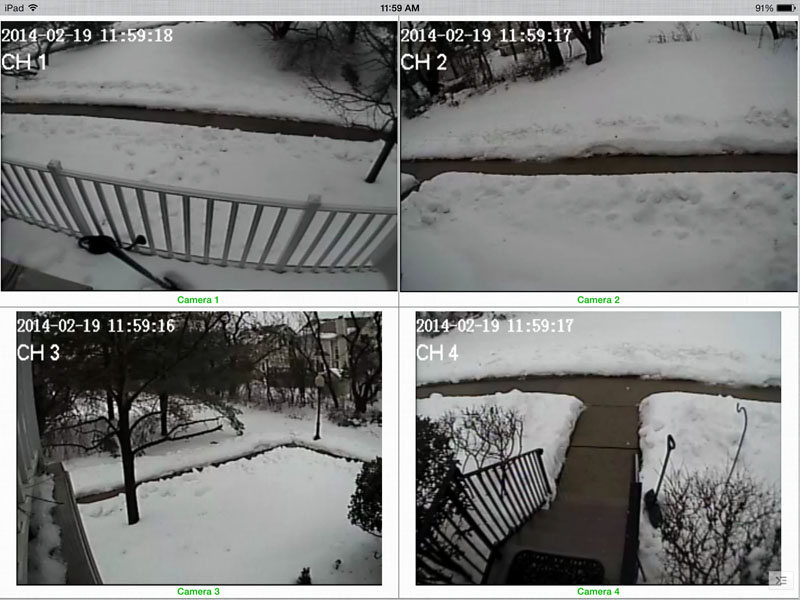
The Ubiquiti AirWire devices are about 50 feet apart and as you can see, all 4 of my surveillance cameras come in clear with enough detail to be useful in the event an image or video clip needs to be used by the local law enforcement. As for reliability, the Ubiquiti AirWire Wireless Ethernet system has been running flawlessly for almost three weeks now without the need for adjustment or restarting.
Support Our Blog by Visiting Our Sponsors
Tags: ubiquiti,airwire,wireless,ethernet,cord,review,long,range
Did you enjoy the article? Share it with your friends. Have something to add to the Ubiquiti AirWire Review? Leave a reply!
